Import and configure leads
Bring in your audience from a CSV, a saved list, a CRM, or Find People — then map and review it.
No audience, no campaign. The Leads step is where you decide exactly who's about to hear from you — and Stynar gives you three different ways to get there, plus a review grid that catches bad data before it becomes a bounce.
Bring your prospects into your campaign, organize your audience, and get them ready for personalized outreach.
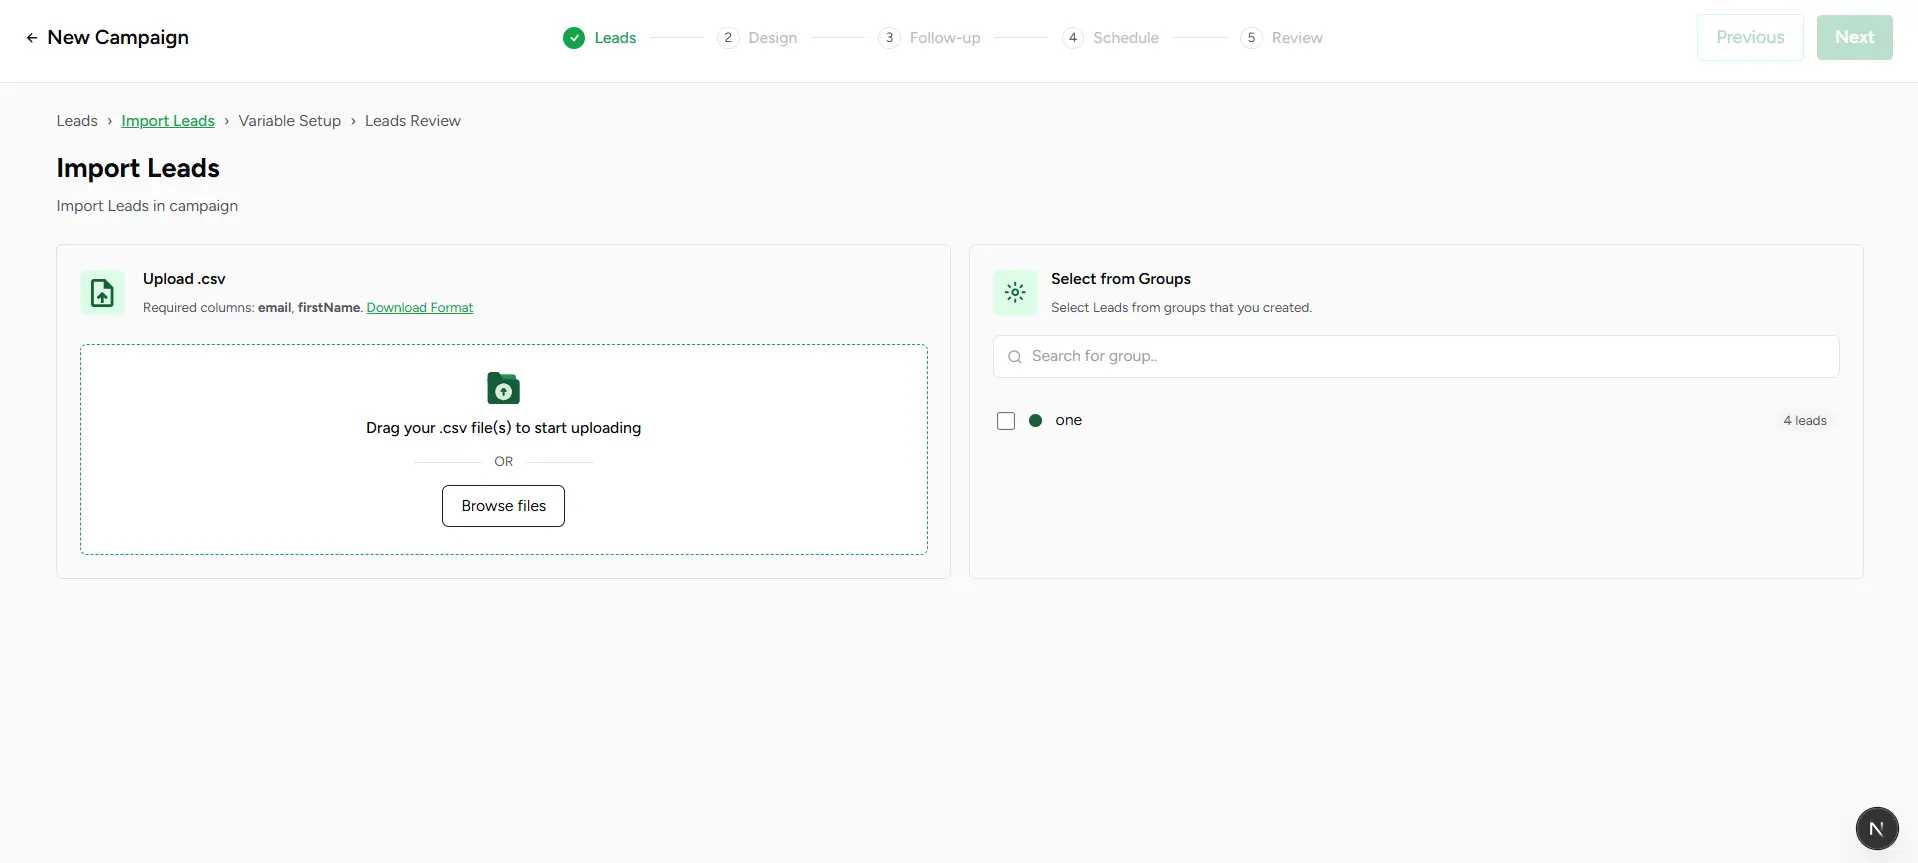
Three ways to build your audience
Upload a file
Drop in a .csv, .xlsx, or .xls with up to 10,000 rows. Only email and firstName are required — grab the sample format if you want a template to start from.
Select from lists
Already sourced or saved leads in Stynar? Pick one or more saved lists and reuse them instantly — no re-uploading required.
Find New Leads
No list yet? Jump to Find People to search by company domain or job title, import there, then come back and select the resulting "Sourced Leads" list.
You can also pull leads straight from HubSpot, Pipedrive, or Zoho CRM — connect once and import from any of them right inside this step.
Pick one lane
Mapping variables
Auto-detected for you
Uploading a CSV? Stynar reads your column headers and auto-maps obvious matches — "Email," "first_name," "Company Website" — to the right lead field instantly.
Adjust anything that's off
Every column gets its own dropdown of standard fields (First Name, Company, Job Title, LinkedIn, and more), plus a live example from your data so you can sanity-check the match.
Add custom variables on the fly
Got a column that doesn't fit a standard field? Add it as a custom variable right from the mapping dropdown — it becomes usable as {{your_variable}} in your email design.
Two mapping rules that block Next
Review before you upload
The final screen is a live, editable spreadsheet of every lead about to enter the campaign — click any cell to fix it inline, use Add Lead or Add Column to extend the table, or select rows to delete them outright.