Creating your account
Sign up, tell us about your business, and connect your first sender — three quick steps.
Getting a fully personalized workspace takes about a minute — three short steps, and Stynar already knows who you are, what your business does, and has a mailbox ready to send from.
Create your account in minutes and unlock smarter, more personalized outreach.
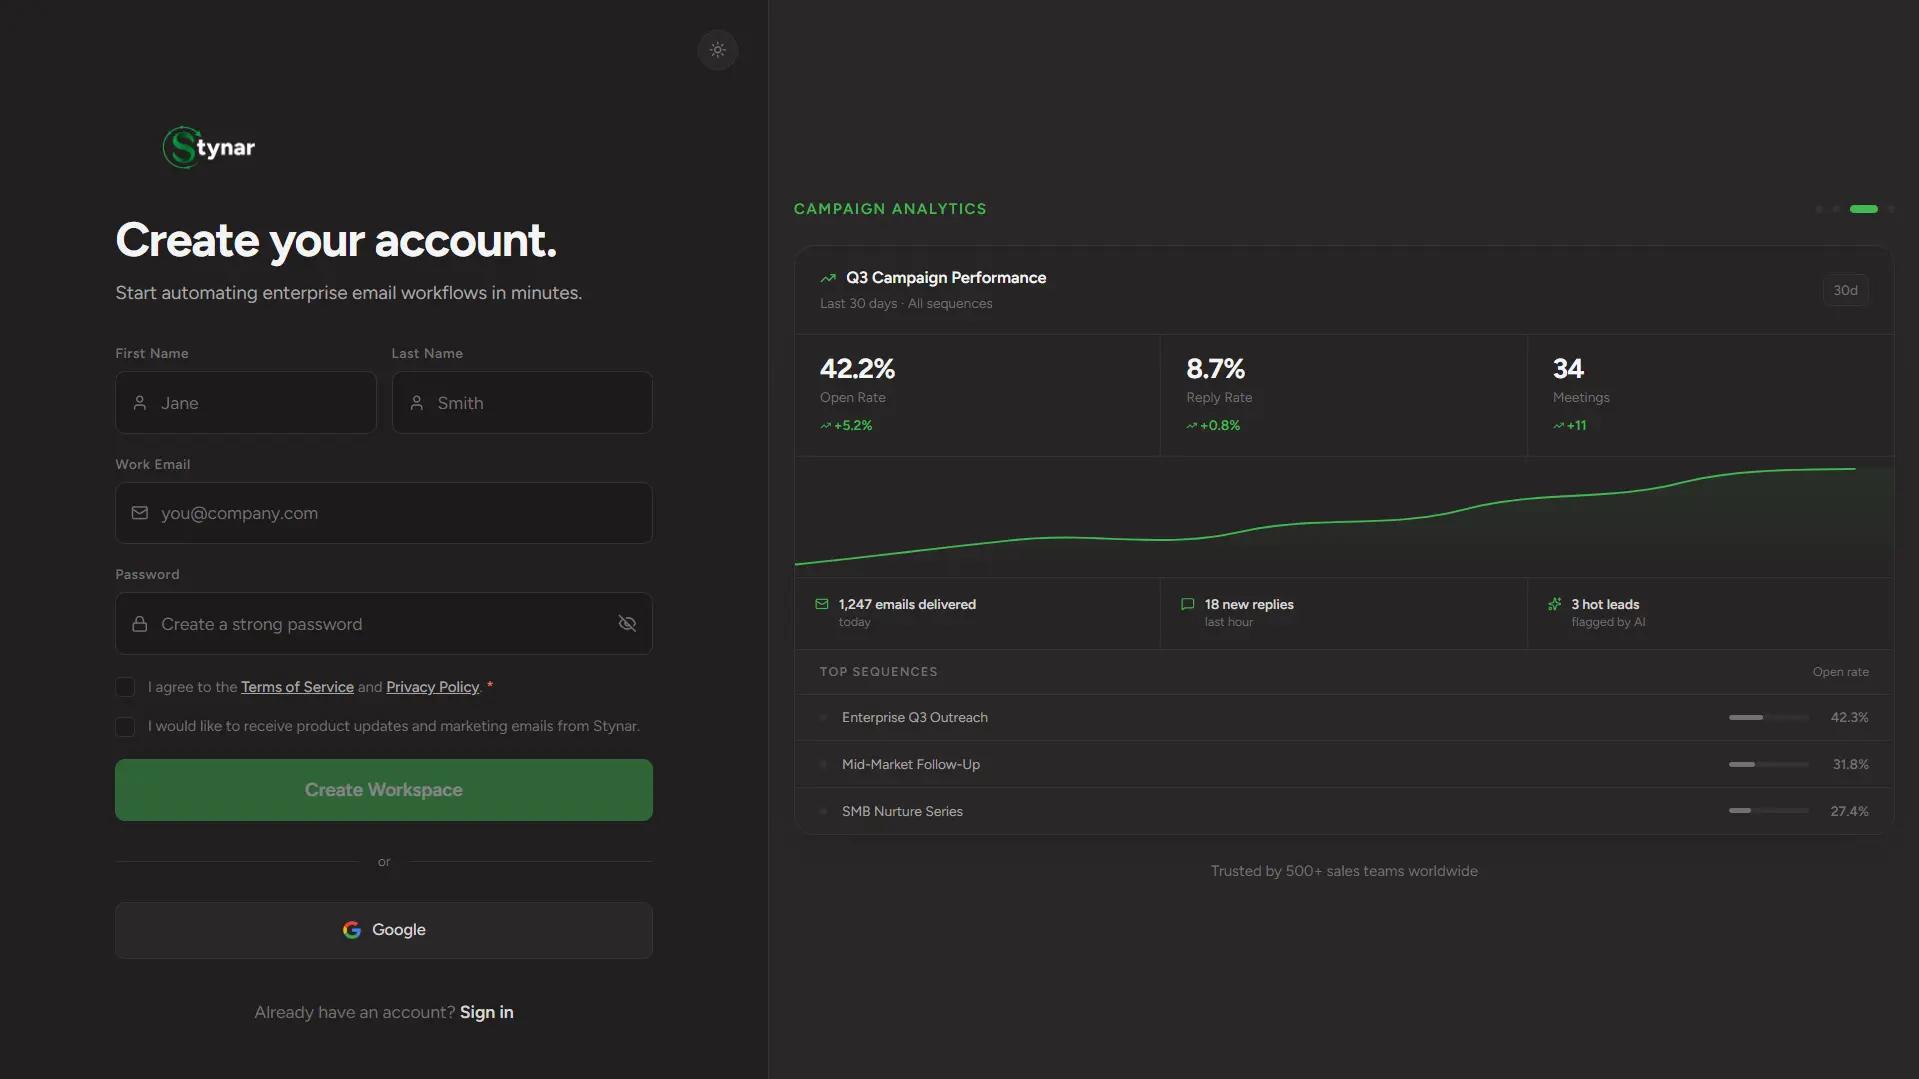
Sign up
Continue with Google
One click, no password to create — sign in with the Google account you already use.
Email & password
Prefer a dedicated login? Sign up with any email address and set your own password instead.
The three setup steps
1 · Tell us about yourself
Your role, how you found Stynar, and your company website. That website is the important one — the moment you submit it, Stynar starts researching your business in the background so everything after this feels personalized, not generic.
2 · Connect your email
Pick Gmail, Outlook, or any custom SMTP mailbox and connect it — a short, guided flow either way. This is the account your first campaign will actually send from.
3 · Meet your company profile
While you were connecting your inbox, Stynar finished scanning your website — you'll see a clean summary of your company, products, and value props before you go any further.
Two birds, one step
Where you land
Finishing setup drops you straight into the AI Agent, already mid-conversation — it greets you by name and, using what it just learned about your company, hands you three ready-to-run campaign ideas to choose from. Pick one, tweak your own request, or head to any workspace directly — your call.